This is the legacy documentation of Project-level Custom Applications, which is in maintenance mode. Visit the new documentation for Org-level Custom Applications.
Installing a Starter Application
Get up and running in a few steps and start developing Custom Applications for the Merchant Center.
Prerequisites
Before you start development, you should have the following:
- A commercetools account and a project.
- Node.js installed (version
>=12, recommended>=14). Eitheryarnornpmas a package manager. - Basic knowledge of React as well as some experience working with web applications.
Installing a starter application
- Install one of the starter templates using the
create-mc-apppackage:
npx @commercetools-frontend/create-mc-app \my-new-custom-application-project \--template starter
- Configure the application environment:
The custom-application-config.json is configured to use the HTTP APIs in the GCP-EU region. If you plan to run the Custom Application in another environment, change the cloud identifier accordingly.
- Start the development server:
cd my-new-custom-application-projectnpm start
If you use yarn:
cd my-new-custom-application-projectyarn start
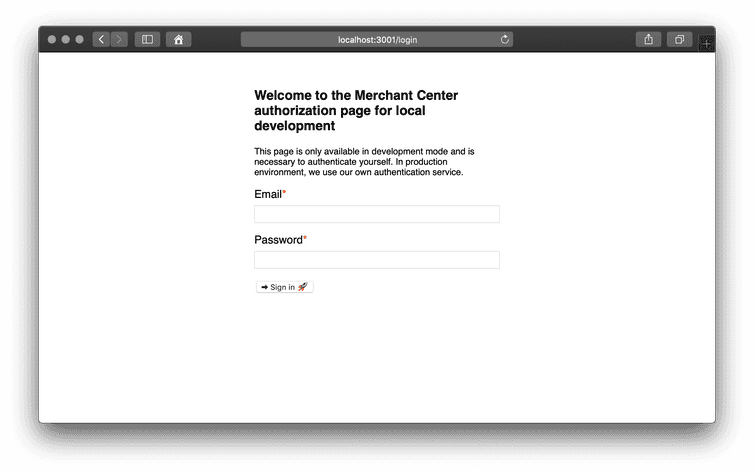
The browser opens a new tab pointing to http://localhost:3001, with a login screen (for development only). Log in using your commercetools account as usual.
Note that Single Sign On is not supported at the moment for the development login page. If you are interested in this functionality, let us know and open a support issue.
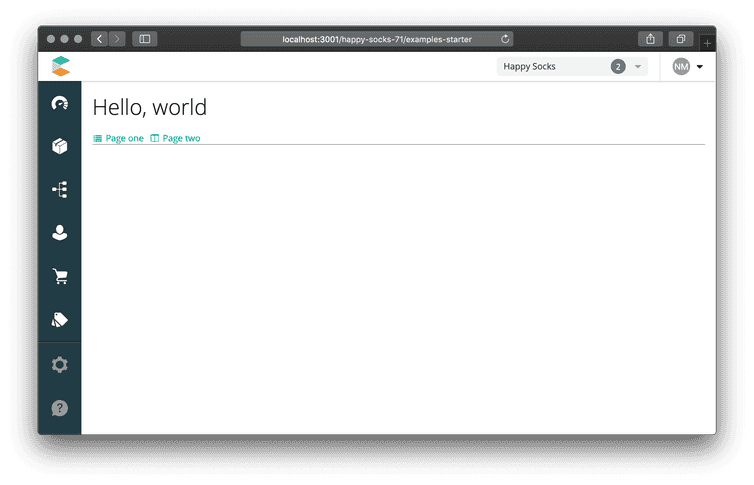
Once you've authenticated, you are redirected to the application http://localhost:3001/:projectKey/examples-starter, where :projectKey is your commercetools project.
Renaming the application main route path
The starter application defines examples-starter as the main application route path (see src/components/entry-point). This is the route that identifies your application and is used by the proxy router. Check out the Merchant Center architecture to know more about this.
Be sure to choose a value that does not conflict with one of the official route values, otherwise your Custom Application will never be served.
The official main route path values are (the list can be extended at any time):
accountaudit-logdashboardcategorieschange-historycustomersexportsdiscountsimpeximportsimports-exportsordersproductssettingswelcomedisabled
You should choose a value that fits with the purpose of the application you are developing. For example, if your application manages state machines, you can choose to name the route state-machines.

